Designing together with Fusion 360
If your team is joining the Moon Camp Pioneers category, you may wish to create your 3D design project using Fusion 360. Fusion 360 is a free 3D design software for students, educators, and academic institutions, follow these instructions to obtain an educational license
 Start designing
1. Creating a virtual classroom for your students
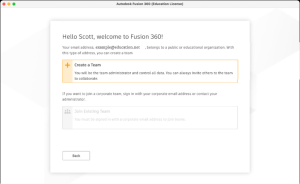
When you log in to Fusion 360 for the first time you will be asked to create your Fusion Team. For more information of how to create an account, click here. Using the Fusion Team functionality a teacher can invite their students to work collaboratively on their Moon Camp projects. It is possible for a teacher to host multiple teams and assign students to different projects.
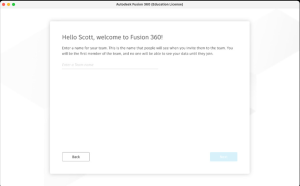
Enter a name for your team. It could include your name or nickname. The team name you use will be visible to anyone that you invite to your team. Note: Team names cannot contain emojis or any of the following characters: \ / : * ? “ < > |
You will then need to check or uncheck the “Do not allow discovery” option depending on your preference and click ‘Create’. Your team will now be ready to use. Click ‘Go To Team’, and if a message displays about improving the Fusion 360 experience, click ‘Got It’.
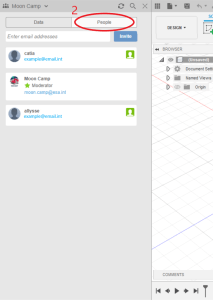
After opening Fusion 360, on the left side of the interface, you will find the Data Panel. Select the project or team you would like to work with and you will be show the Team control panel. With the Data menu selected, each team member can access the designs of the team (1).
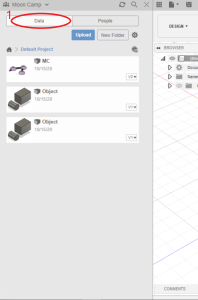
The Team owner can also manage the designs and invite (2) new team members using the People menu.
By clicking on your team name (1) a dropdown will open, showing the teams you are member of. By clicking on the gearwheel (2) you can open the administrator web console in a new browser tab to manage your teams settings, projects, members and assignments.

Once you open the team’s web console you can organise the team settings (1), invite new team members and control their status (2) and manage the projects as well as assign roles to different team members working on the projects (3).
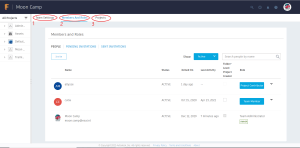
You can invite students by clicking ‘invite’ and entering their accounts email addresses.
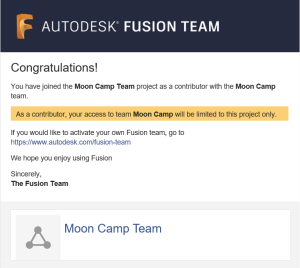
Your students will receive an email to accept the invitation via the “Join Team”-button.
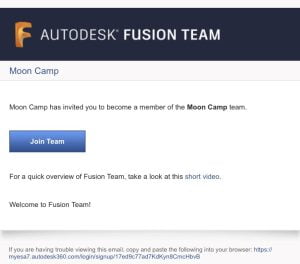
The “new” team members will now receive a second e-mail to confirm their membership and provide some general information about the Fusion Teams.

The students will also appear in the team’s member list, so that the team leader can assign projects and roles to each team member.
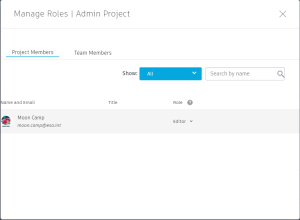
Through the projects header in the team’s web control panel, you can manage the teams projects. Here you can also assign roles to the team members, like editor or viewer, which allows structured cooperative teamwork.
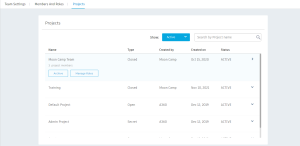
When a team member is assigned to a project, they will see the team’s projects in the web control panel as well as the desktop app. After getting assigned as an editor they can create and edit existing projects to work collaboratively.
When a team member accesses a project for the first time, the team leader may need to approve editing in their dashboard before they can access the project.
You can access your private dashboard by clicking the Fusion logo. Here you can open the different projects you have and manage them.

2. Working remotely as a team
Once the team members have access to the designs of their team and have been assigned the “editor” role, they can work on existing designs as well as create new designs.
It is also possible to give feedback to your team members through the “comments” option on the bottom left corner of the design interface in Fusion 360.
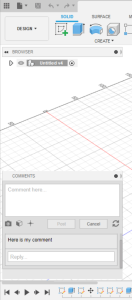
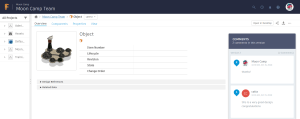
The comments will be visible in the web console page of the project. They can be used to monitor progress of the designs development and review process.
3. Assembling a design
If you decide to design different components of your Moon Camp separately, you can review them individually and afterwards merge the different .f3d files as a .f3z file to submit your Moon Camp project to the challenge. To learn more about the different file types you check out our handy guide here.
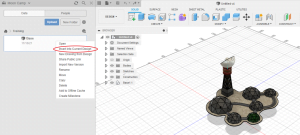
Either Copy your original design and Paste into your new design, or save the original design and drag and drop it from the data panel into your new design. You can also insert the original design directly into the new design by right clicking the original in the data panel and selecting ‘insert into current design’.
For more information on how to get started with a Fusion Team for Education, see Autodesk’s handy guide here.

